
Mastering the Art of Painting Preparation Techniques

Painting a room or the exterior of your home can be incredibly rewarding. But let’s be honest - the real magic happens before the brush even touches the surface. Mastering the art of painting preparation techniques is the secret sauce to a flawless, long-lasting finish. If you’ve ever wondered why some paint jobs look professional while others peel or chip within months, the answer usually lies in the prep work.
So, let’s roll up our sleeves and dive into the essential steps that will transform your painting project from “meh” to magnificent. Ready? Let’s get started!
Why Painting Preparation Techniques Matter
You might be tempted to skip straight to the fun part - picking colors and slapping paint on the walls. But hold on! Preparation is the foundation of any successful painting job. Think of it like baking a cake: no matter how fancy your frosting is, if the cake is dry or undercooked, the whole thing falls flat.
Proper preparation ensures:
Better paint adhesion: Paint sticks where it’s supposed to, not where it shouldn’t.
Smoother finish: No bumps, cracks, or peeling.
Longer durability: Your paint job lasts for years, saving you time and money.
Professional look: Clean lines, even coverage, and no surprises.
Skipping prep is like building a house on sand. It might stand for a while, but eventually, it’s going to crumble.
Essential Painting Preparation Techniques You Can’t Skip
Let’s break down the key steps that will set you up for success. These aren’t just tips; they’re tried-and-true techniques that pros swear by.
1. Clean the Surface Thoroughly
Dirt, dust, grease, and mildew are paint’s worst enemies. If you paint over a dirty surface, the paint won’t stick properly. Use a mild detergent mixed with water and a sponge or cloth to scrub walls, trim, or siding. For exterior surfaces, a pressure washer can be a game-changer.
Pro tip: Rinse well and let everything dry completely before moving on.
2. Repair and Patch Imperfections
Cracks, holes, and dents are like potholes on a road - they make the ride bumpy. Use spackling paste or wood filler to patch holes and cracks. For larger damage, you might need to replace sections of drywall or siding.
Once patched, sand the area smooth with fine-grit sandpaper. This step is crucial for a seamless finish.
3. Sand for Smoothness and Adhesion
Sanding might seem tedious, but it’s a must. It smooths rough spots and creates a slightly rough surface that helps paint grip better. Use medium-grit sandpaper for rough areas and fine-grit for finishing touches.
Don’t forget to wipe away dust with a damp cloth or tack cloth after sanding.
4. Protect Areas You Don’t Want Painted
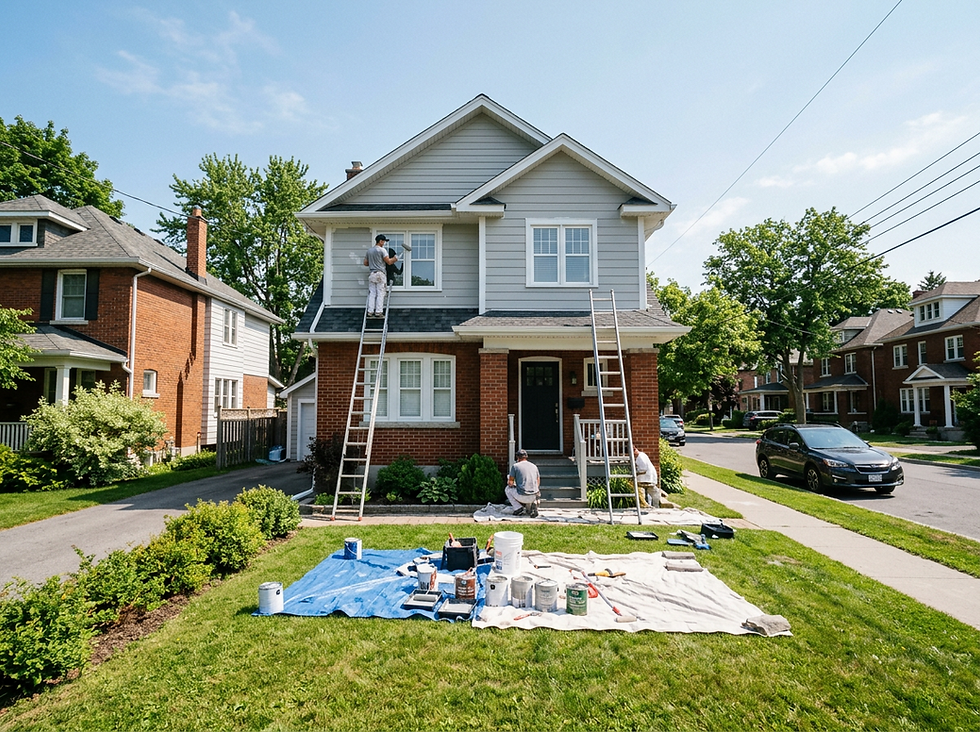
Masking tape, drop cloths, and plastic sheeting are your best friends here. Cover floors, furniture, windows, and trim to avoid accidental splatters. This step saves you from hours of cleanup later.
5. Prime Like a Pro
Priming is often overlooked but it’s a game-changer. Primer seals porous surfaces, blocks stains, and improves paint adhesion. Choose the right primer for your surface - wood, drywall, metal, or masonry.
Applying primer might feel like an extra step, but trust me, it pays off in the long run.

Tools and Materials That Make Preparation Easier
Having the right tools can turn a daunting prep job into a smooth process. Here’s what you’ll want to have on hand:
Spackling paste and putty knife for filling holes.
Sandpaper (medium and fine grit) or a sanding block.
Mild detergent and sponge for cleaning.
Painter’s tape and drop cloths to protect surfaces.
Primer suitable for your surface.
Caulk and caulking gun to seal gaps around trim and windows.
Scraper or wire brush for removing loose paint or rust.
Investing in quality tools pays off with better results and less frustration.
Common Mistakes to Avoid in Painting Preparation
Even seasoned DIYers can slip up. Here are some pitfalls to watch out for:
Skipping cleaning: Painting over dirt or grease leads to peeling.
Ignoring repairs: Paint won’t hide cracks or holes.
Not sanding enough: Paint won’t adhere well to glossy or rough surfaces.
Using the wrong primer: This can cause bubbling or uneven color.
Rushing drying times: Paint over wet primer or patching compound and you’ll regret it.
Remember, patience is your best friend here. Take your time, and your paint job will thank you.

Bringing It All Together: The Axcell Ottawa Difference
When it comes to painting preparation, attention to detail is everything. That’s why axcell ottawa has built a reputation for meticulous prep work that guarantees stunning, durable finishes. Their team understands the unique challenges of Ottawa’s climate and homes, ensuring every project is tailored for lasting beauty.
Whether you’re tackling a DIY project or hiring professionals, mastering these painting preparation techniques will save you headaches and deliver results you’ll love.
Ready to Transform Your Space?
Now that you know the secrets behind great painting preparation, it’s time to put them into action. Remember, the best paint job isn’t just about color - it’s about the care and craftsmanship that go into every step before the first brushstroke.
So grab your tools, clear your schedule, and get ready to create a space that looks fresh, feels inviting, and stands the test of time. Happy painting!


Comments